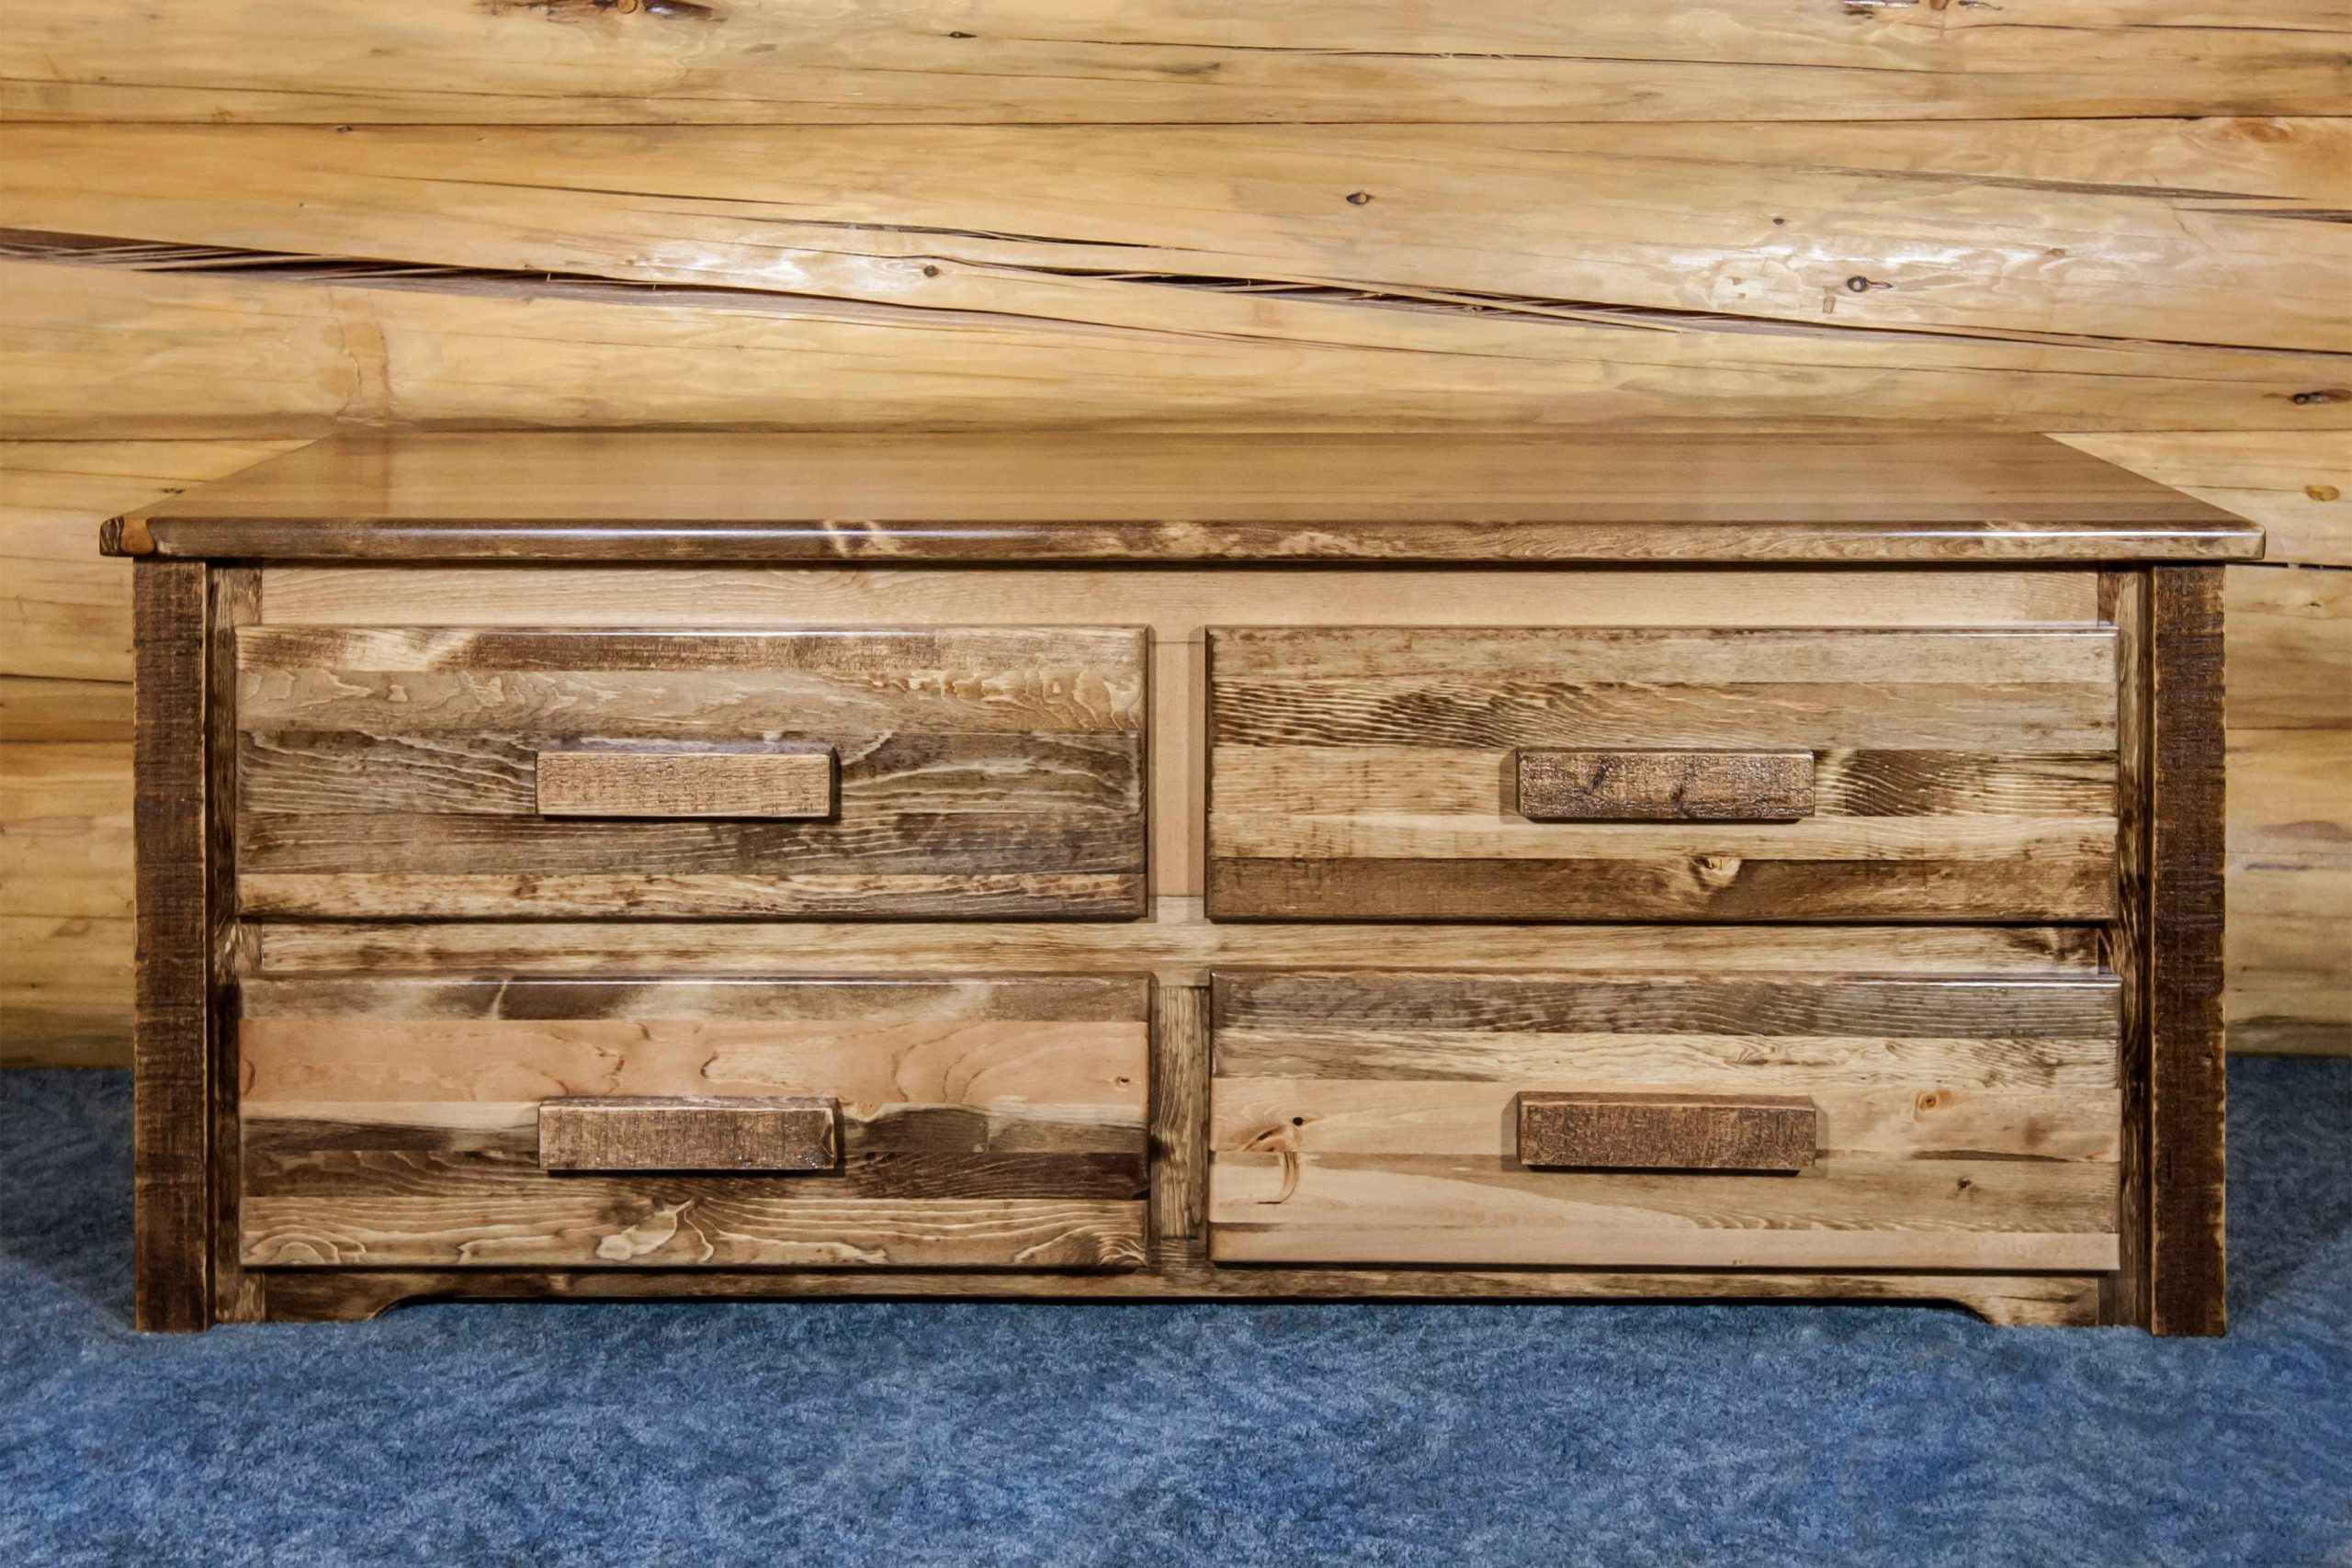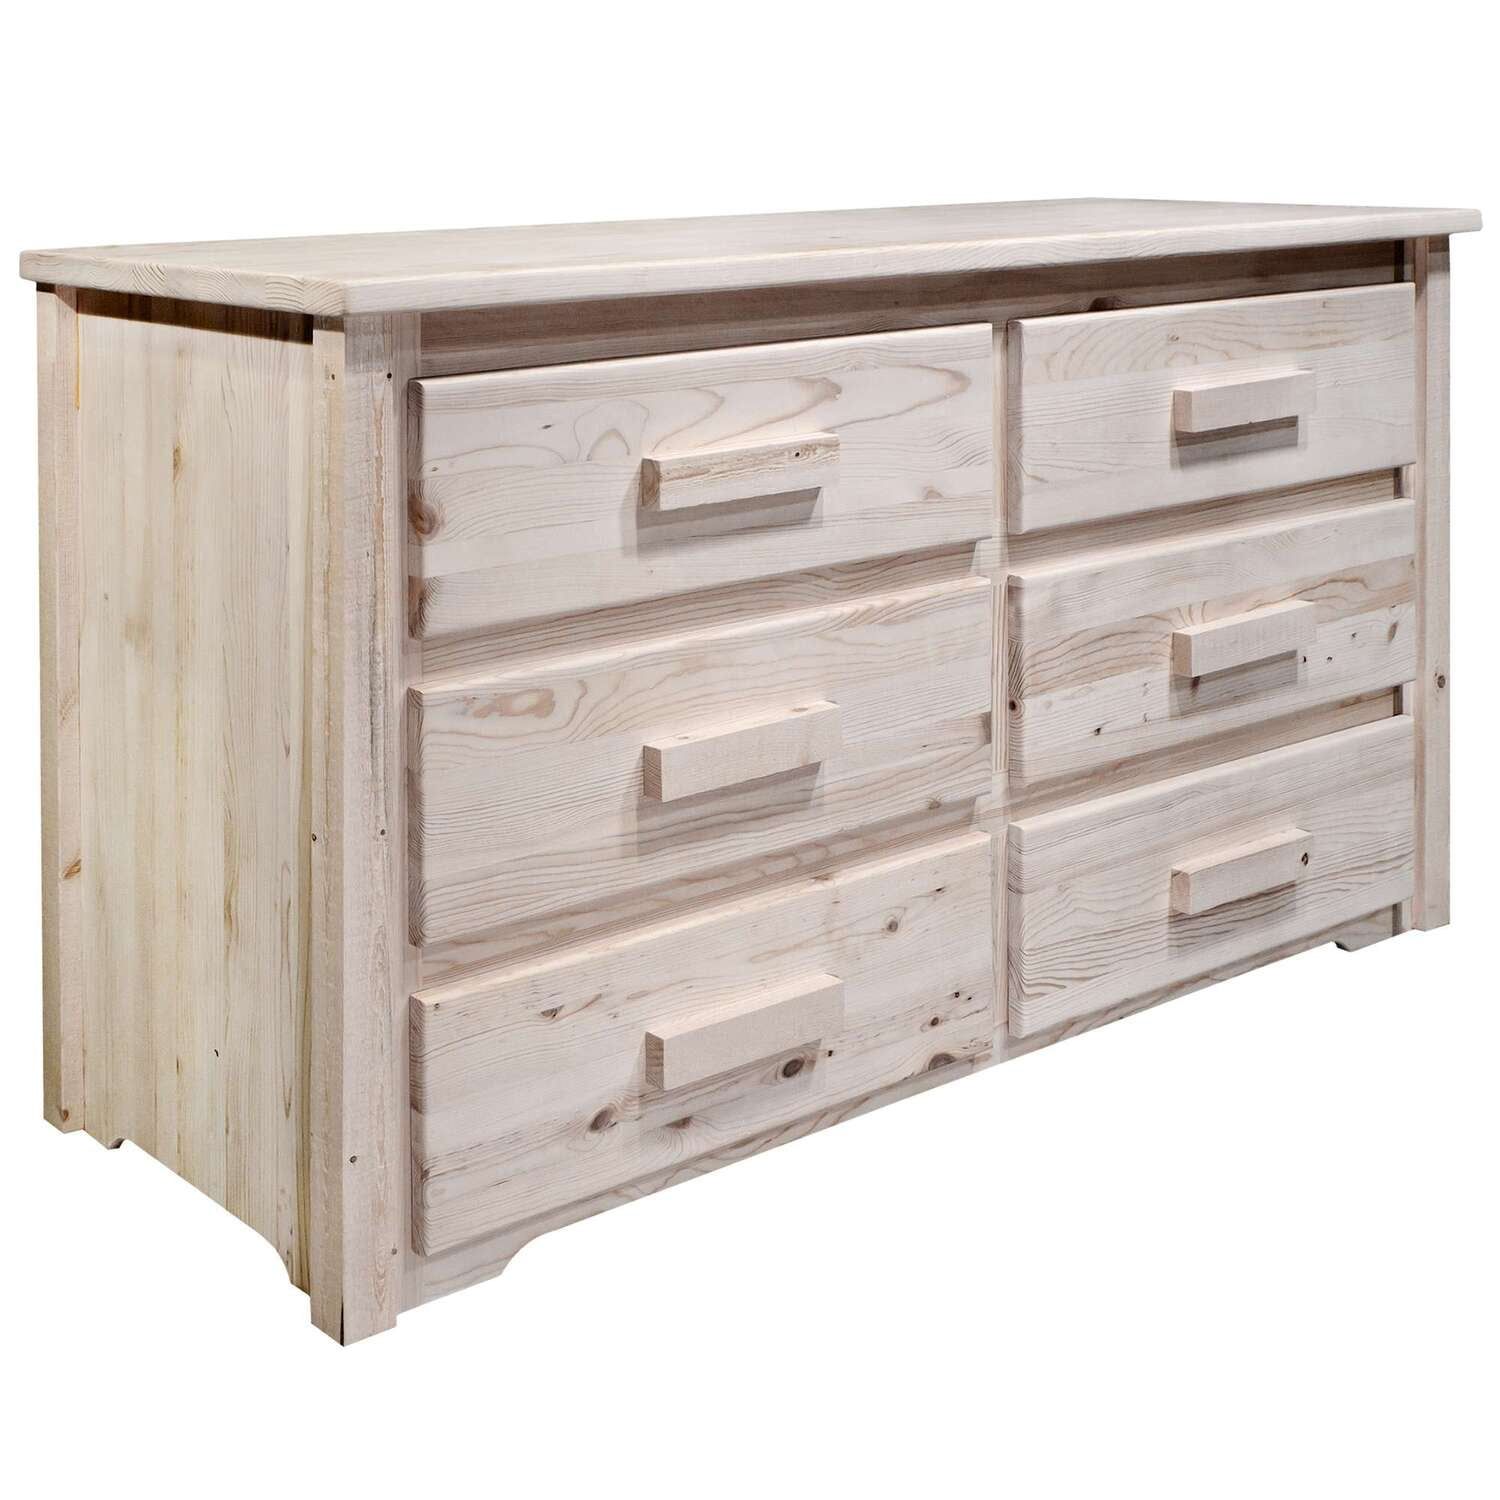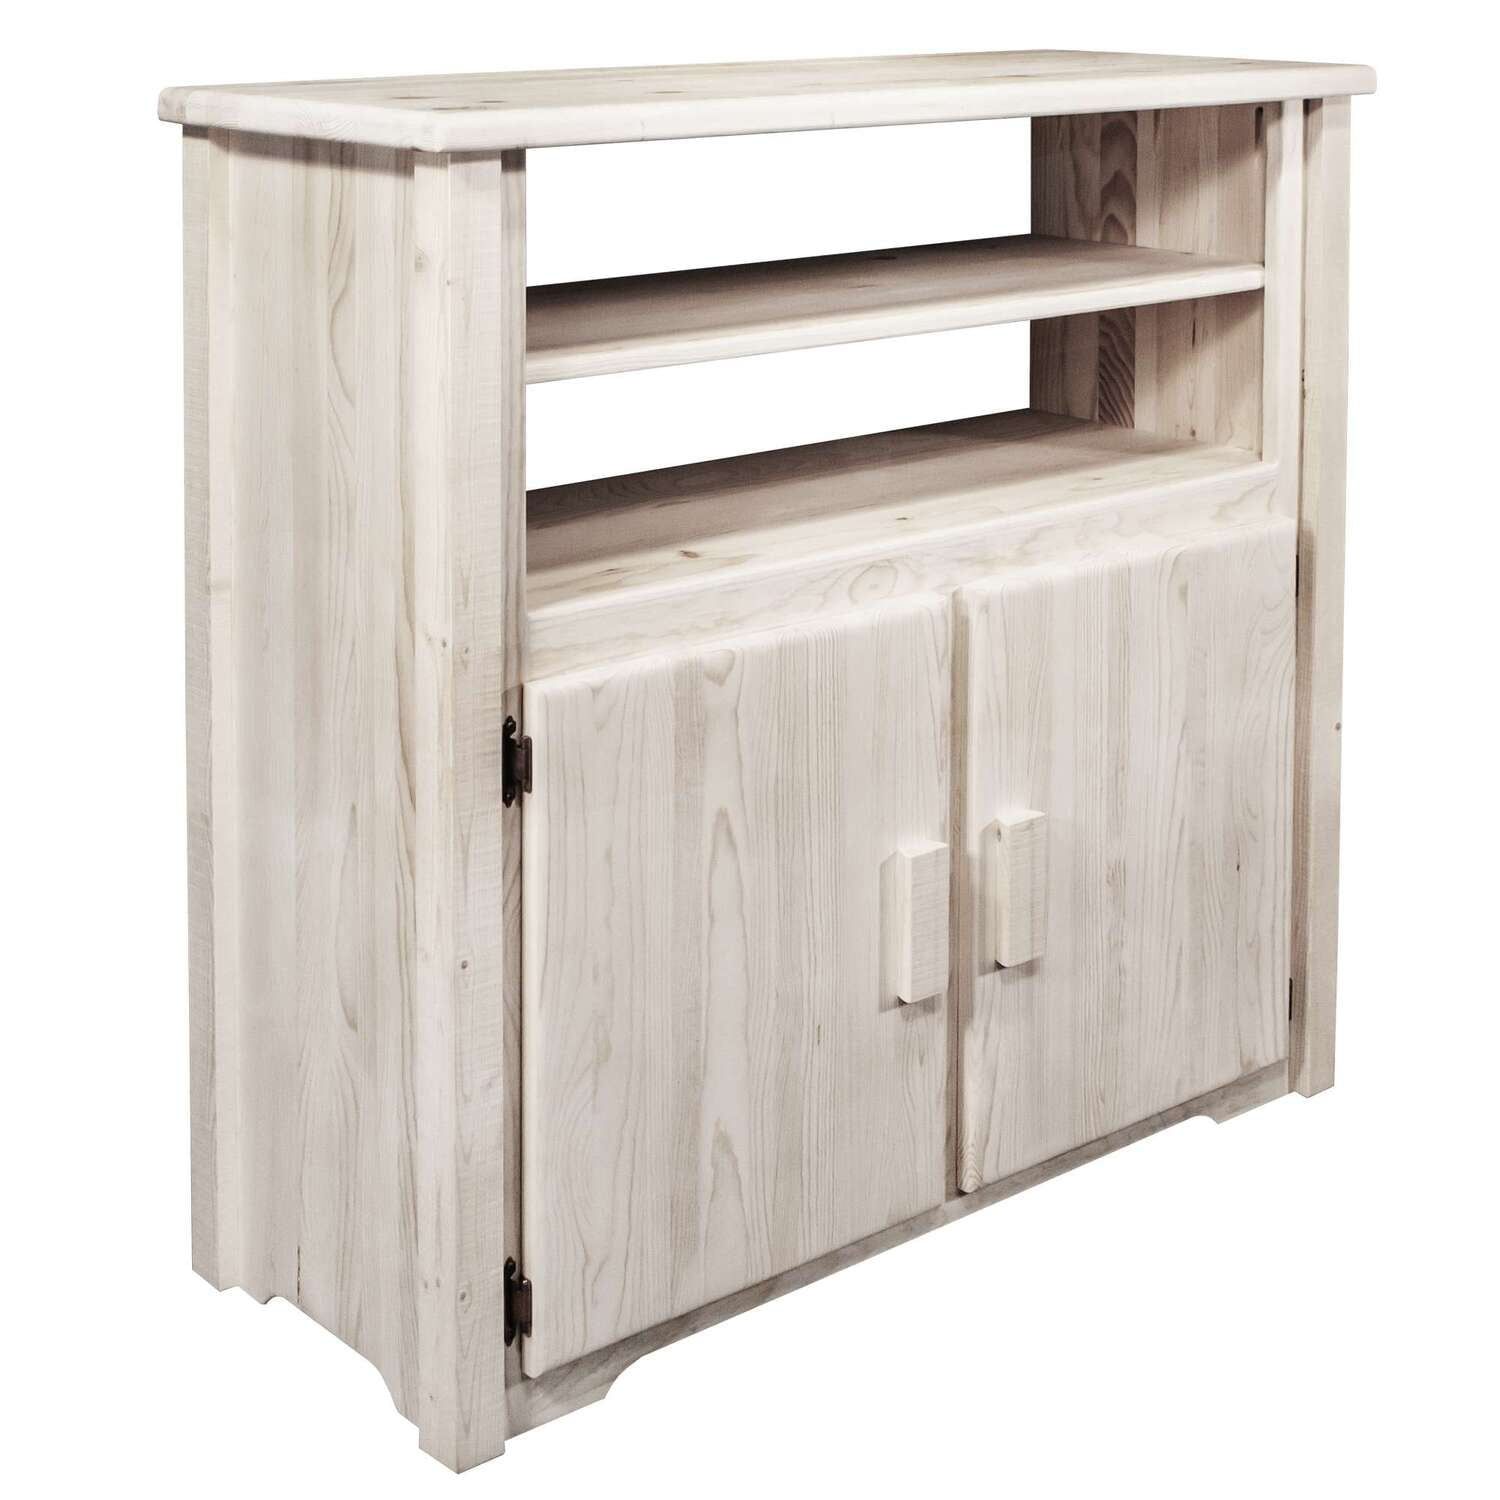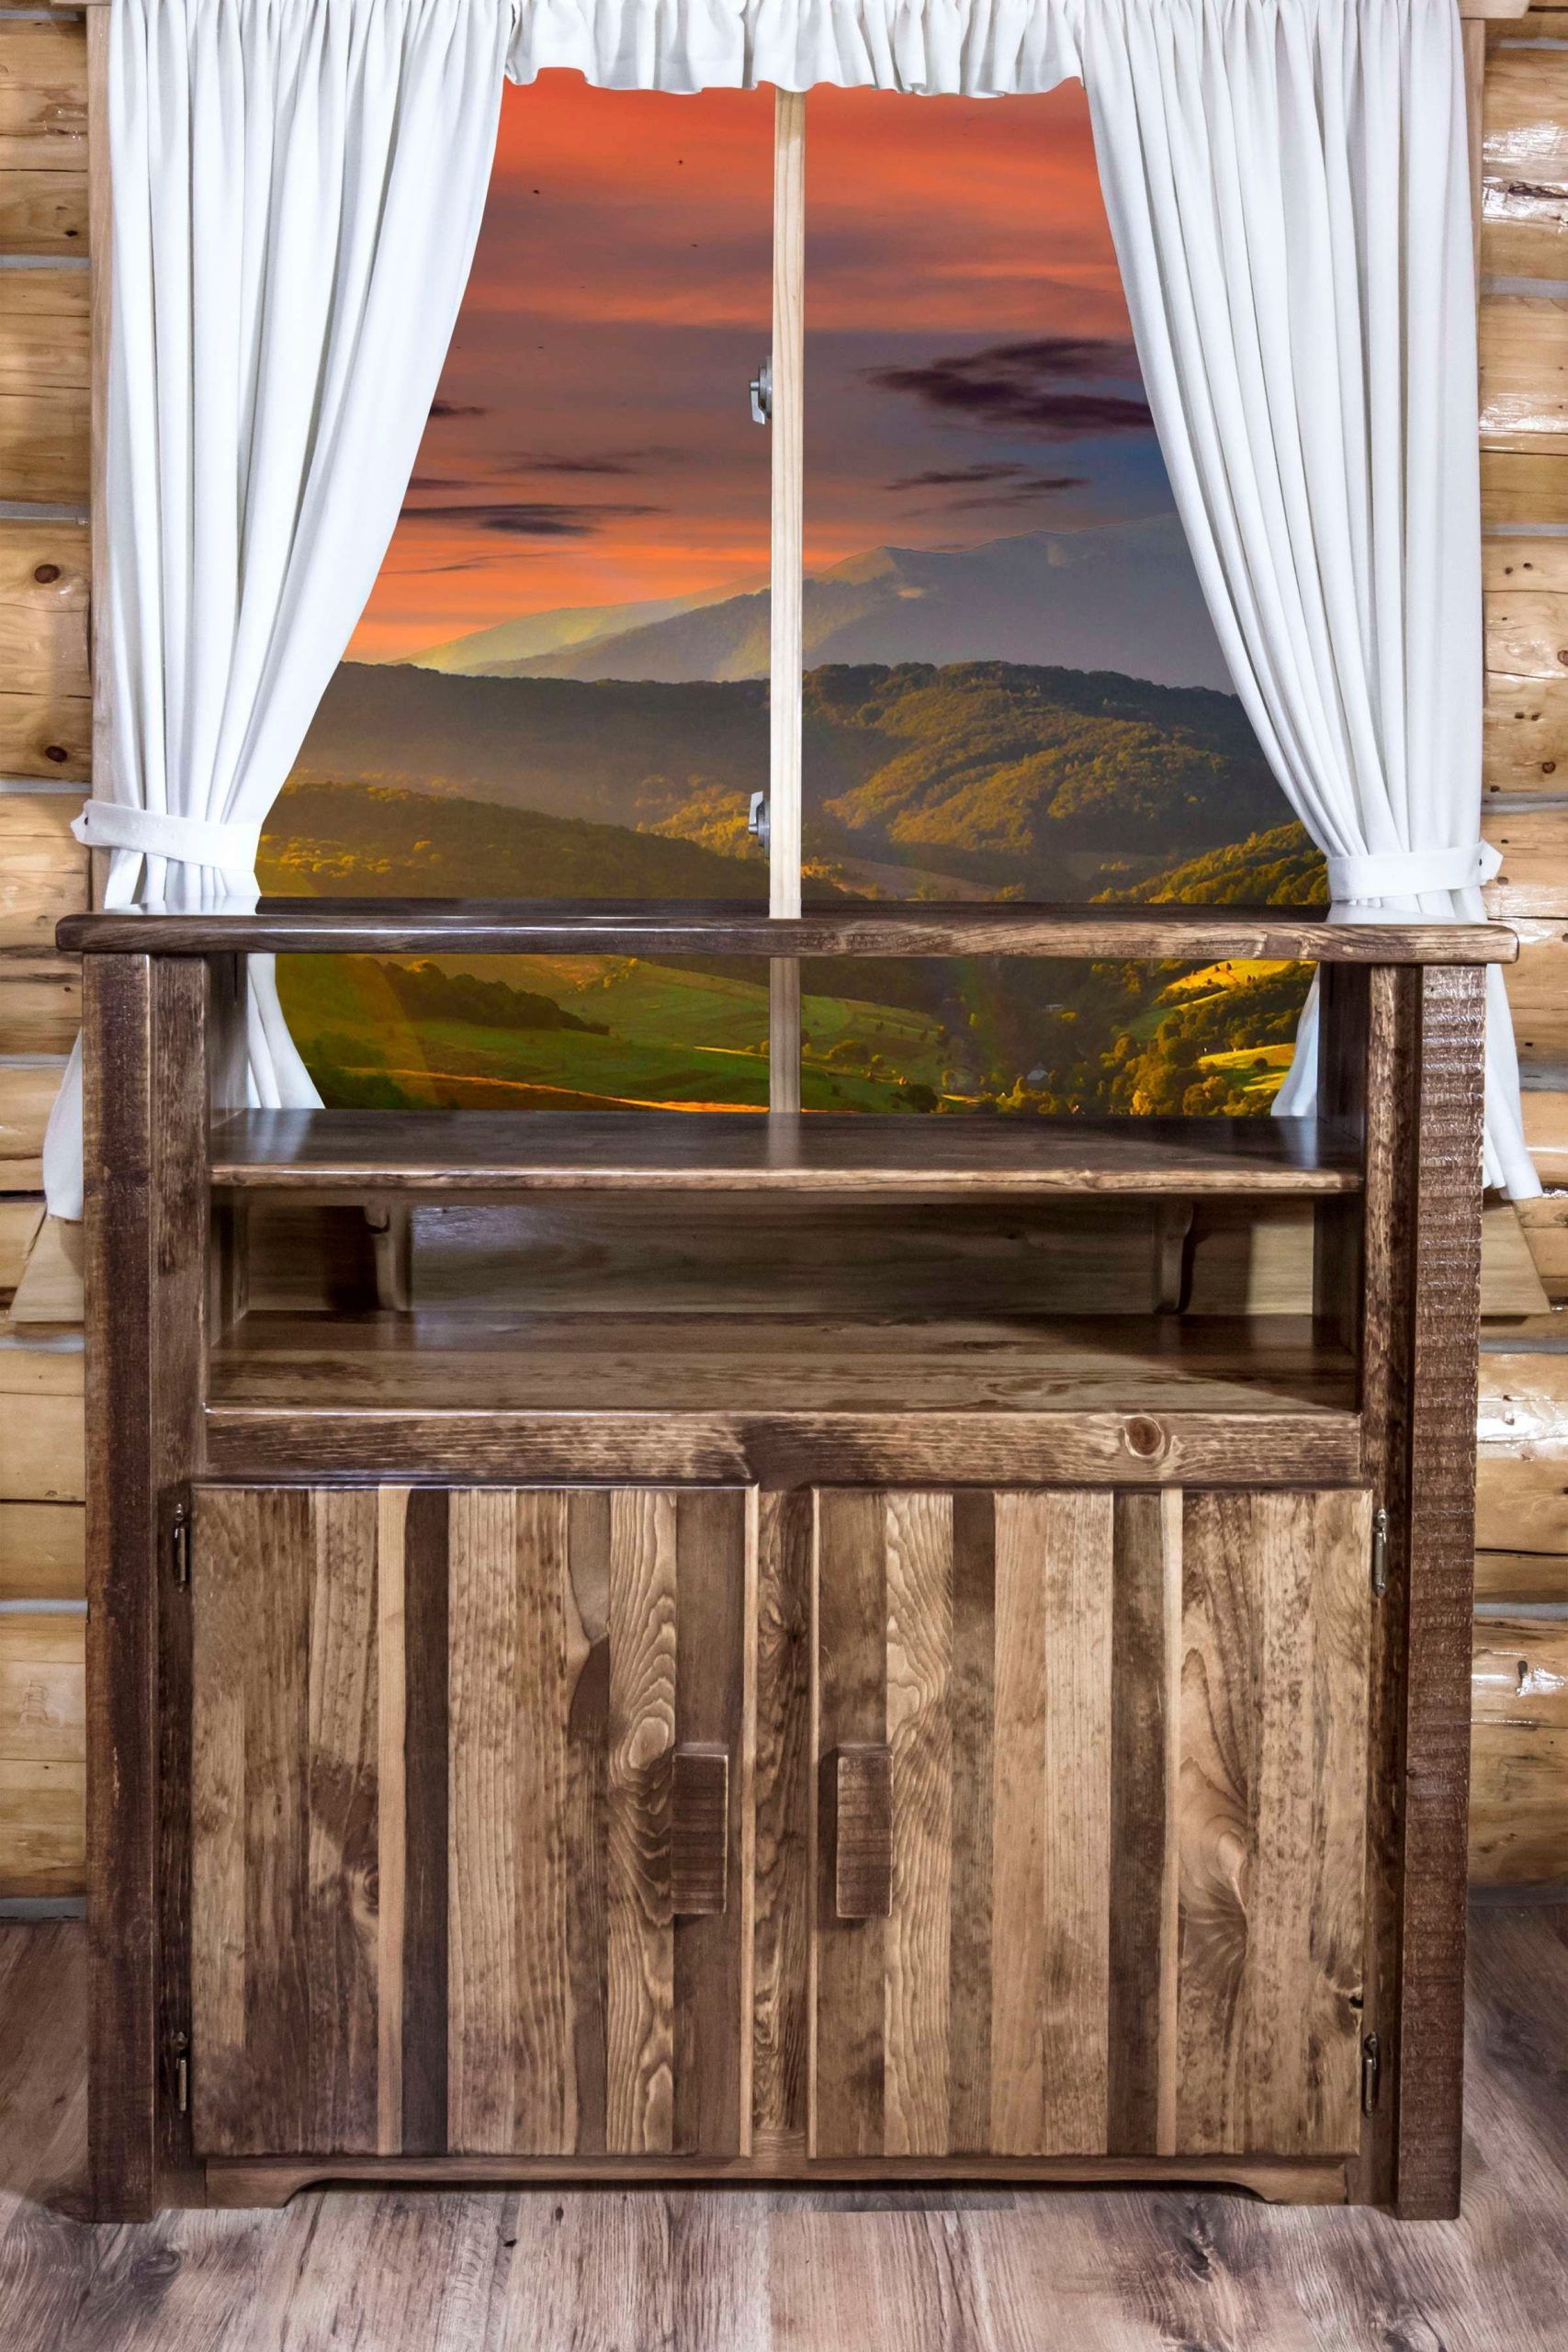
There’s something deeply satisfying about bringing old wood furniture back to life. Whether it’s a weathered dining table or a vintage bookshelf, the process of restoration can feel like a meditation. But when it comes to achieving that perfect finish, many people get stuck on the stain and lacquer application part. This guide walks you through everything you need to know to get it right.
Wood restoration isn’t just about fixing things – it’s about breathing new life into pieces that hold memories. When you’re working with aged wood, you’re not just dealing with surface imperfections. You’re confronting years of wear, scratches, and possibly water damage. The right approach to staining and lacquering can transform a piece from sad and forgotten to stunning and functional. The secret lies in understanding how these two elements work together, and more importantly, how to apply them correctly. This isn’t just about following steps – it’s about developing a feel for the material and the process.
Understanding Wood Staining Basics
Before we dive into the application process, let’s talk about what stain actually does. Wood stain penetrates the surface fibers and adds color while enhancing the natural grain patterns. It’s not a coating like paint – rather, it’s more like a tint that lives within the wood itself. Think of it as giving your wood a new skin without hiding its character.
Different types of stains serve different purposes:
• Oil-based stains provide deeper penetration and richer colors
• Water-based stains dry faster and offer better clarity
• Gel stains are great for vertical surfaces and detailed work
• Semi-transparent stains allow the wood grain to show through
The key is matching your stain choice to your project. A rustic coffee table might call for a dark, rich oil-based stain, while a delicate chair might benefit from a lighter water-based option. You’ll want to test your chosen stain on a small, hidden area first. This little step can save you from major disappointments later on.
Preparing Your Wood Surface
Good preparation makes all the difference in the world. Wood restoration starts long before you even pick up a brush. You’ve got to strip away old finishes, sand the surface smooth, and clean it thoroughly. If you skip these steps, your stain and lacquer won’t adhere properly.
Here’s what you need to do:
• Remove old varnish or paint using appropriate chemicals
• Sand with progressively finer grits, starting at 80 and moving to 220
• Clean with mineral spirits or appropriate degreaser
• Allow complete drying time between steps
Some folks rush through this phase, but patience pays off. Take the time to really smooth out any rough spots. A perfectly prepared surface will give you much better results than rushing to apply stain and lacquer on a bumpy base. Remember, you can always sand more, but you can’t take back a poor surface preparation.
Choosing the Right Stain Application Method
The way you apply stain affects how it looks and how well it bonds with the wood. There are several methods, each with their own advantages.
Brushing is the most traditional method and gives you good control. Work with the grain, applying thin, even coats. Let each coat dry completely before applying the next one. This method works well for large flat surfaces.
Staining with a cloth or rag is ideal for detailed work or when you want to control the amount of stain on the surface. You can wipe off excess easily, which helps prevent blotchiness.
Spraying provides the smoothest finish but requires proper ventilation and protective gear. It’s excellent for large projects but may not work well on textured or very old wood.
For best results, consider using a foam brush for smooth, even application. These brushes don’t leave bristle marks and work well with both oil and water-based stains. Test your chosen method on a scrap piece of wood first.
Mastering the Lacquer Application Process
Clear lacquer acts as the protective layer that seals your stained wood. It adds durability and shine while protecting against moisture and wear. The key to successful lacquer application lies in thin, even coats.
Start with a clean, dust-free surface. Apply lacquer in thin layers, allowing each to dry completely before sanding lightly with fine-grit sandpaper. This creates a smooth foundation for the next coat. Repeat this process until you achieve the desired sheen.
Some important tips:
• Work in a well-ventilated area
• Apply lacquer in thin coats, never thick ones
• Sand lightly between coats
• Keep the surface clean between applications
• Don’t apply lacquer in high humidity
Lacquer dries quickly, so you’ll want to work efficiently but carefully. If you notice drips or uneven spots, they’re usually easy to fix with light sanding and reapplication. The goal is a smooth, uniform finish that protects your investment.
Common Mistakes to Avoid
Even experienced woodworkers make mistakes, especially when learning new techniques. Here are some pitfalls to watch out for:
• Applying too much stain at once. This leads to uneven color and potential streaking
• Skipping surface preparation steps. A rough or dirty surface will ruin your final result
• Not allowing proper drying time between coats
• Using the wrong type of stain for your wood species
• Applying lacquer in humid conditions
One common error is trying to apply too many coats of stain in one session. The wood can only absorb so much. Instead, apply thin coats and build up the color gradually. Another mistake is applying lacquer too thickly – this causes runs and bubbles. Remember, it’s better to apply multiple thin coats than one thick one.
Don’t rush the process. Some projects take days to complete properly, and that’s perfectly normal. Quality work deserves time and attention.
Finishing Touches and Maintenance Tips
Once you’ve completed your stain and lacquer application, there are a few final steps that will ensure your project lasts for years to come.
First, check for any missed spots or areas that need touch-ups. Light sanding between coats helps create a smooth surface, but a final light sanding with 220-grit paper can remove any minor imperfections.
For ongoing care:
• Avoid placing hot items directly on the surface
• Use coasters and placemats to protect against moisture
• Clean with mild soap and water
• Occasionally polish with a quality furniture wax
Regular maintenance keeps your restored piece looking fresh. Many people think lacquered wood is indestructible, but it still needs protection. With proper care, a well-restored piece can last generations. The initial investment in quality materials and careful application pays dividends in longevity.
Restoring wood with stain and lacquer is both an art and a science. It requires patience, practice, and respect for the material you’re working with. The journey from damaged wood to beautiful restoration isn’t always straightforward, but every step brings you closer to a finished piece that tells a story. Whether you’re tackling a small side table or a grand antique chest, remember that each coat, each sanding session, and each careful application matters. The satisfaction of seeing your work come to life makes every moment of effort worthwhile. With the right approach and attention to detail, anyone can master this timeless craft.