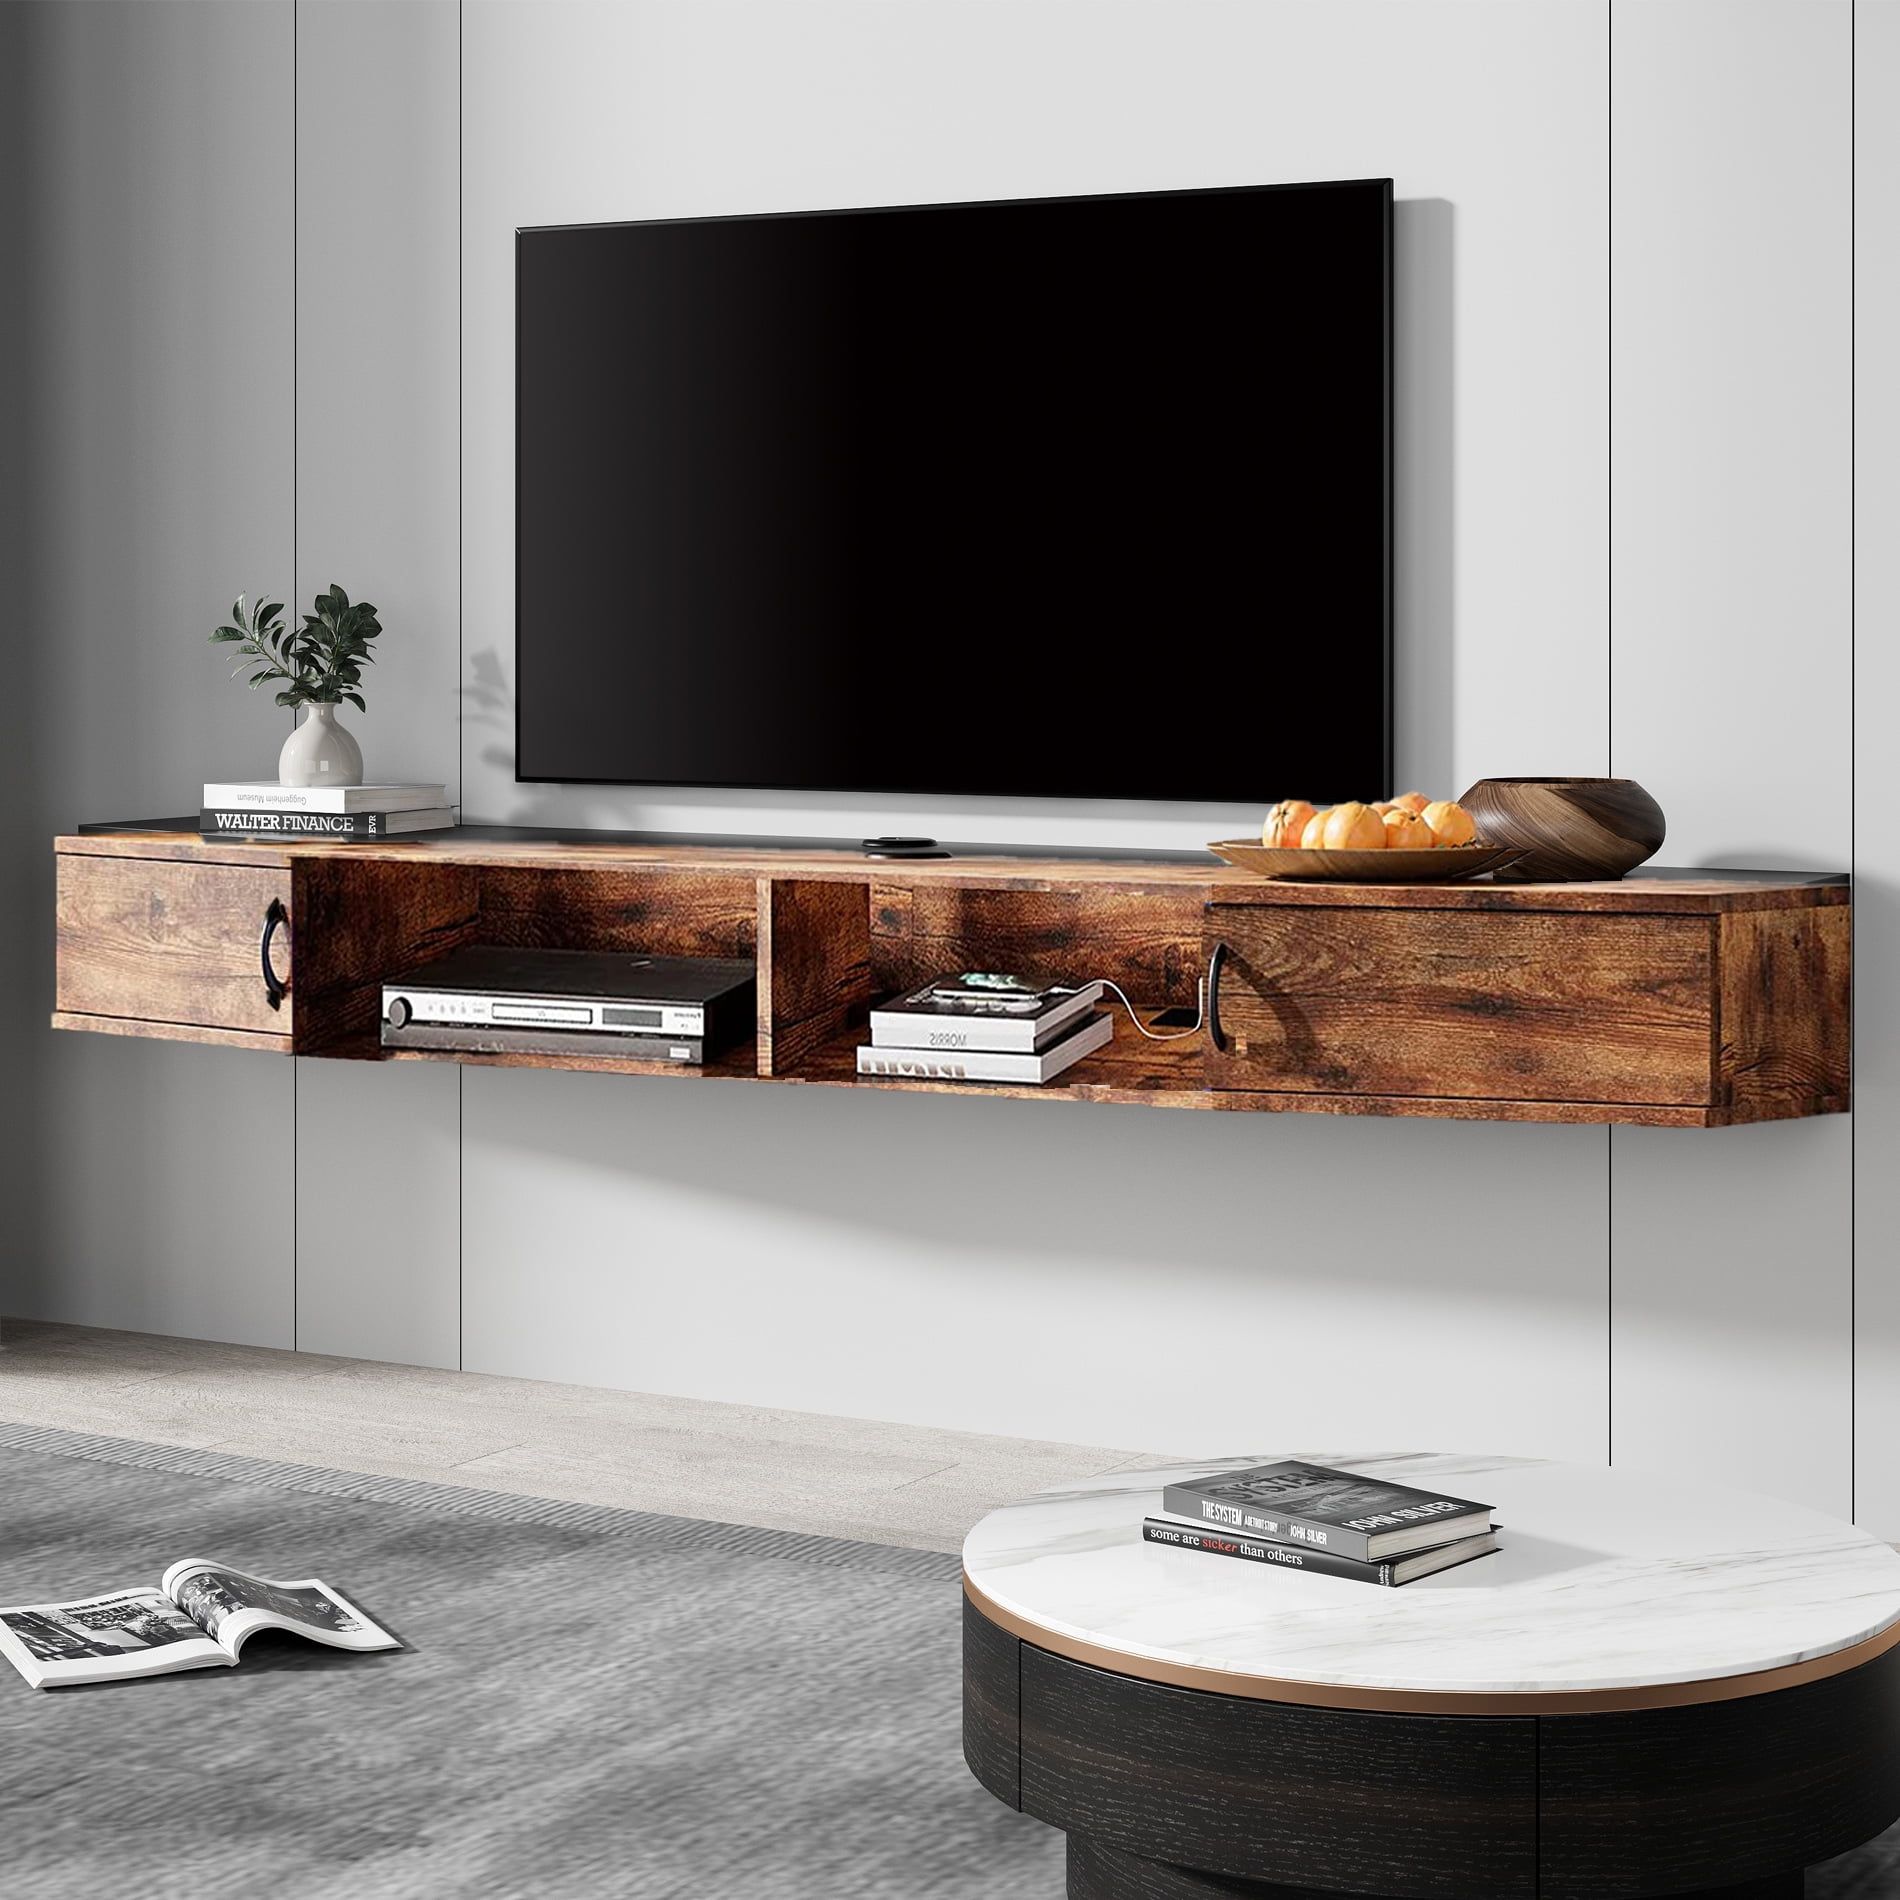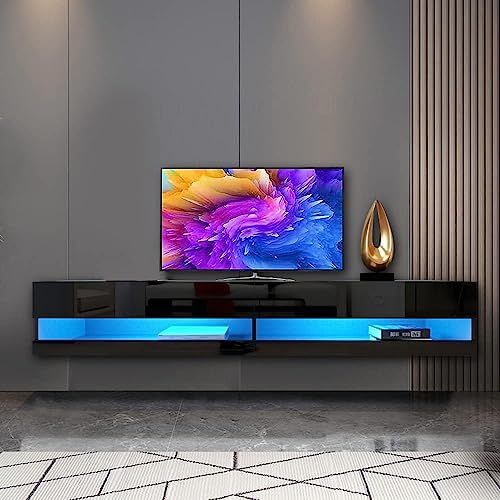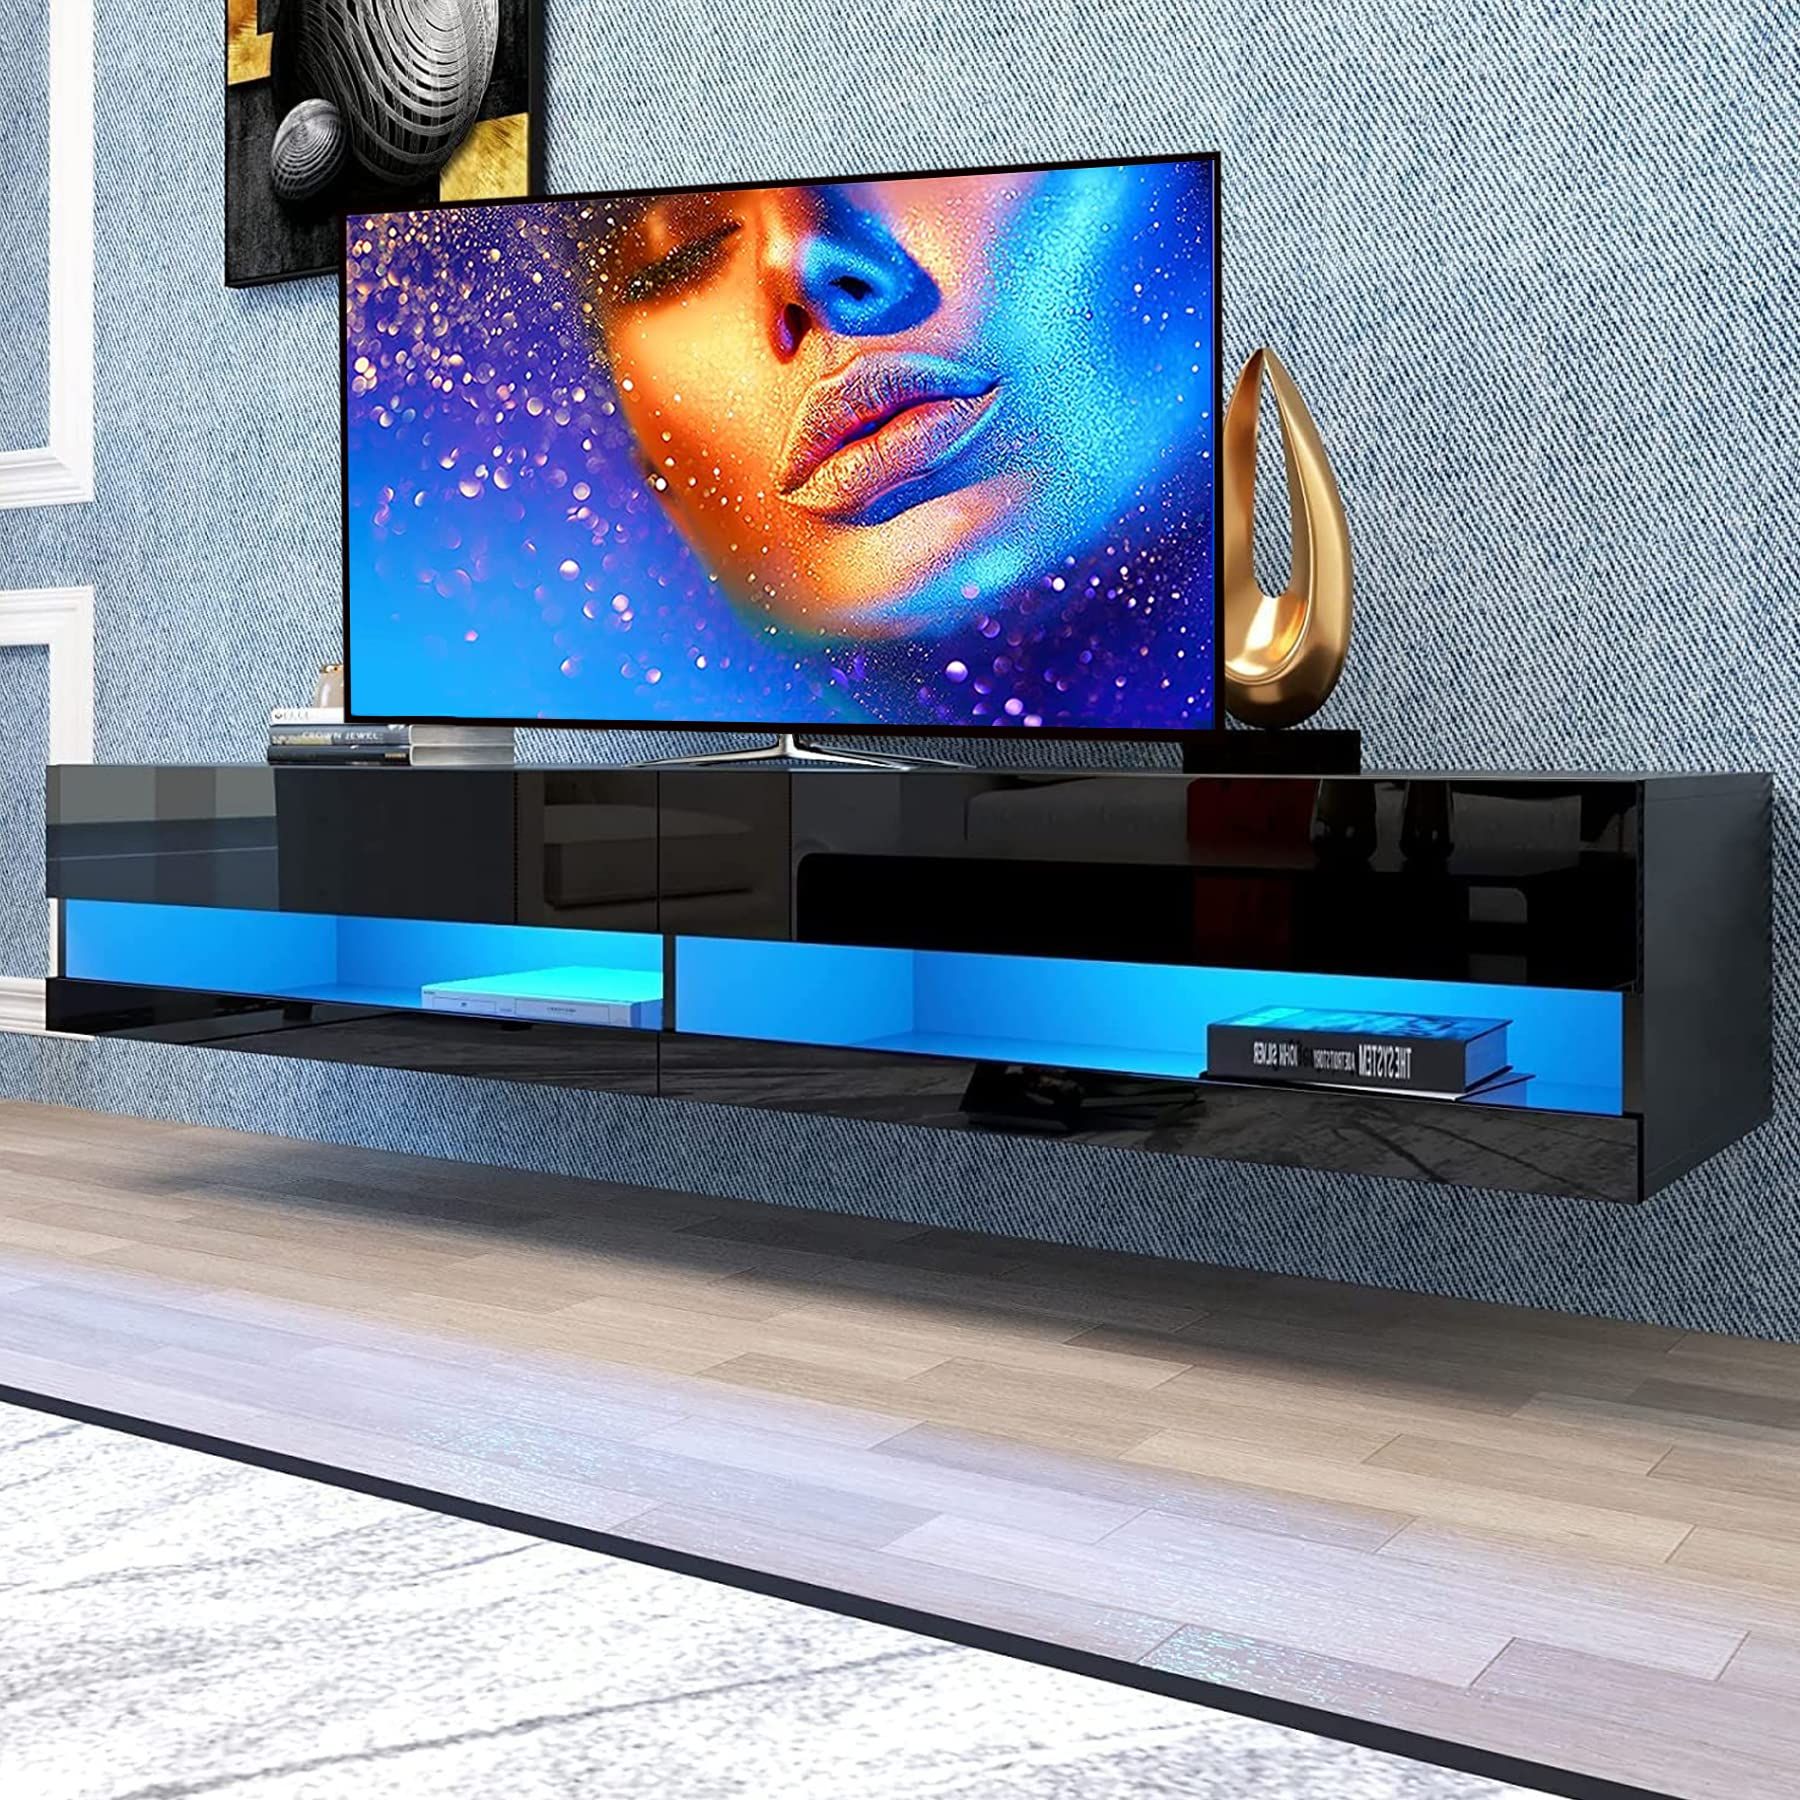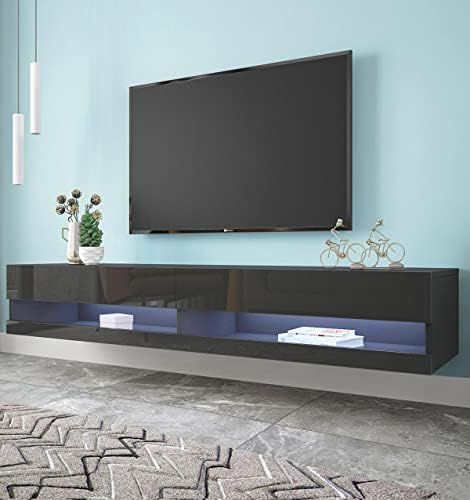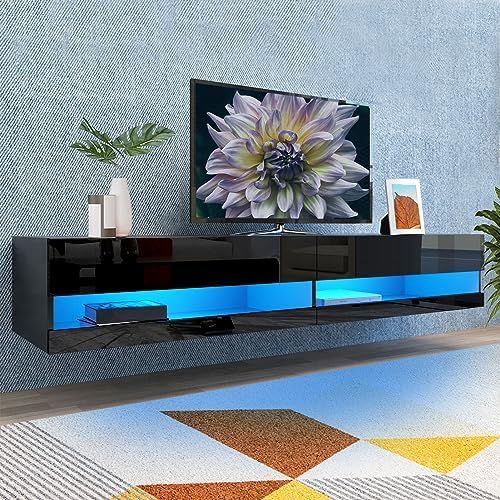
Picture this: You’ve just bought the biggest, most impressive TV you can find. It’s gorgeous, it’s powerful, and it deserves to be displayed properly. But how do you make sure it looks as amazing as it feels? That’s where floating mounts come in. These aren’t just fancy brackets – they’re the unsung heroes that transform your wall from ordinary to extraordinary.
When it comes to displaying large screens, mounting solutions matter more than you might think. A poorly chosen mount can lead to wobbling displays, awkward angles, or even safety concerns. On the flip side, the right floating mount can make your screen look like it’s floating effortlessly on your wall. It’s not just about hanging something – it’s about creating a visual experience that enhances your space while ensuring everything stays secure. Whether you’re setting up a home theater, a gaming setup, or a commercial display, getting the mount right is crucial.
Understanding Floating Mount Basics
Floating mounts might sound simple, but there’s more to them than meets the eye. At their core, these mounting systems allow displays to appear as though they’re suspended in mid-air. This isn’t just aesthetics – it’s about maximizing viewing comfort and minimizing eye strain. The key lies in the design. Unlike traditional wall mounts that attach directly to the back, floating mounts use a clever bracket system that creates distance between the wall and the screen. Think of it like a shelf that holds your display at just the right height and angle. The result? A cleaner look and better viewing position. When choosing one, consider the weight capacity carefully. Most floating mounts can handle displays ranging from 40 to 100 pounds, but some premium models support even more. Make sure your screen falls within that range. Also, check if the mount supports your display’s VESA pattern – those holes on the back of your TV. Not all mounts fit every screen size. It’s like finding the right shoe for your foot. If you’re unsure about measurements, many retailers offer compatibility checkers online. These tools can save you from buying the wrong mount and having to return it later.
Weight and Size Considerations
Large displays bring big responsibilities, especially when it comes to weight. A 65-inch TV typically weighs between 40 and 50 pounds, while larger models can easily exceed 70 pounds. Before shopping, weigh your display carefully. Don’t guess – measure accurately. The mount must comfortably support at least 1.5 times the display’s weight. So if your screen weighs 50 pounds, look for a mount rated for at least 75 pounds. This extra margin ensures safety and longevity. Size matters too. The dimensions of your mount’s mounting plate should match or exceed your display’s footprint. If you have a very wide screen, you’ll want a mount that provides adequate support across its entire width. Some mounts come with adjustable arms that can accommodate different screen sizes. Others are designed specifically for certain sizes. For instance, if you have a 75-inch ultra-wide display, you’ll want a mount that can handle the width and weight distribution evenly. The installation process also varies based on size. Larger screens often require two people to install properly, and sometimes professional help is worth the investment. Think about how much time and effort you want to put into installation versus the cost of hiring someone. It’s a personal choice, but always prioritize safety over convenience.
Mounting Surface and Wall Types
Not all walls are created equal, and that matters when selecting your floating mount. The type of wall you have affects both the mount’s performance and your installation approach. Drywall, for example, is common in most homes but requires special attention. It’s not as sturdy as solid brick or concrete, so using appropriate anchors is essential. Look for mounts that specify drywall compatibility and include the right hardware. If you’re dealing with studs, that’s great news – you can usually mount directly into them. But if your wall is made of plaster or has a lot of insulation, you might need to use toggle bolts or other reinforcement methods. Concrete and brick walls offer excellent mounting options but require different techniques. You’ll likely need specialized drill bits and masonry anchors. These aren’t just about holding weight – they’re about preventing damage to your wall. Some floating mounts are designed specifically for tile or stone surfaces. These often feature special clamps or adhesives that work well with those materials. Consider the wall’s condition too. Old or damaged walls might not support heavy loads, no matter how good the mount is. If you’re unsure about your wall’s integrity, it’s better to consult a professional. They can assess the situation and recommend the best approach for your specific situation.
VESA Pattern Compatibility
The VESA standard is like a universal language for display mounting. Every manufacturer uses this system to indicate where the mounting holes should go on the back of displays. Understanding VESA patterns helps ensure you get the right mount for your screen. The most common patterns range from 75x75mm to 600x400mm. Smaller screens often use 75×75 or 100×100 patterns, while larger TVs typically use 200×200 or 400×400. Check your display’s manual or look up its specifications online to find the exact pattern. Some mounts are designed for multiple VESA sizes, which offers flexibility. Others are specific to one pattern, so double-check before purchasing. It’s easy to overlook this detail, but it’s crucial. A mismatched mount will either not fit at all or won’t provide proper support. You might end up with a screen that wobbles or even falls. If you’re unsure about your VESA pattern, many manufacturers provide online tools where you can enter your model number and get instant compatibility info. These tools are invaluable for avoiding costly mistakes. Remember, VESA standards vary slightly between manufacturers, so always verify the exact measurements rather than assuming they’re the same. It’s better to be safe than sorry when it comes to mounting hardware.
Adjustment Features and Flexibility
Modern floating mounts offer more than just basic mounting. Many come with adjustment features that let you fine-tune the display’s position for optimal viewing. Tilting capabilities are common and useful for reducing glare from windows or lights. Some mounts allow you to adjust the screen’s angle by several degrees, which can make a huge difference in comfort. Swivel features add another dimension of flexibility. They let you rotate the screen left or right, which is helpful for multi-user setups or when you want to change viewing angles. Height adjustment is another important feature. It allows you to position the screen at eye level or slightly below, depending on your seating arrangement. Some mounts even offer full motion capabilities – allowing you to move the screen in multiple directions. This is particularly useful in home theaters where you might want to reposition the display for different activities. However, more adjustments often mean more complexity. Consider how much flexibility you actually need. If you’re setting up a permanent display in a fixed location, basic tilt and swivel might be enough. For more dynamic environments, full-motion mounts offer greater versatility. Always test the adjustment mechanisms before finalizing your purchase. Make sure they move smoothly and securely lock in place. A mount that’s difficult to adjust or keeps moving on its own isn’t worth the investment.
Installation Tips and Safety Precautions
Installing a floating mount correctly is half the battle. Proper installation prevents accidents and ensures your display lasts for years. Start by marking the exact spots where you’ll drill. Use a stud finder to locate wall studs whenever possible. If you’re mounting in a spot without studs, use appropriate anchors and make sure they’re rated for your display’s weight. The drilling process itself requires patience. Use the right drill bits for your wall type. For concrete, you’ll need masonry bits; for drywall, standard bits work fine. Go slowly and steady – rushing leads to mistakes. Double-check that your screws are long enough to penetrate deep into the wall or stud. Most floating mounts require at least 2.5 inches of penetration for safety. After mounting the bracket, carefully lift your display onto it. Make sure it’s centered and balanced before tightening all bolts. Never tighten bolts fully in one step – do it gradually to avoid warping the mount or screen. Professional installation isn’t always necessary, but it’s smart for large displays or if you’re uncomfortable with the process. Many stores offer installation services for an additional fee. It’s worth considering if you’re unsure about your abilities. Always follow the manufacturer’s instructions exactly. These guides are written by engineers who know what works best. And remember, if something doesn’t feel right during installation, stop and reassess. Safety should never be compromised for speed or convenience.
Choosing the right floating mount for your large display is more than just a shopping decision – it’s an investment in your viewing experience and safety. From understanding weight capacities to checking VESA patterns, each step matters. The right mount transforms your screen from a piece of electronics into a stunning centerpiece. Take time to research, measure carefully, and consider your specific needs. Don’t rush the process, and remember that it’s always better to err on the side of caution. Whether you’re building a home theater or upgrading your office display, the right floating mount will make all the difference. Your future self will thank you for taking the time to get it right. After all, a perfectly mounted display isn’t just about looking good – it’s about creating a space where technology and design work together seamlessly.